
 English
 Afrikaans
 Albanian
 Amharic
 Arabic
 Armenian
 Azerbaijani
 Basque
 Belarusian
 Bengali
 Bosnian
 Bulgarian
 Catalan
 Cebuano
 Chichewa
 Corsican
 Croatian
 Czech
Czech Danish
 Dutch
Dutch Esperanto
 Estonian
 Filipino
 Finnish
 French
 Frisian
 Galician
 Georgian
 German
 Greek
Greek Gujarati
 Haitian Creole
 Hausa
Hausa Hawaiian
 Hebrew
 Hindi
Hindi Hmong
Hmong Hungarian
 Icelandic
 Igbo
Igbo Indonesian
 Irish
Irish Italian
 Japanese
 Javanese
 Kannada
 Kazakh
 Khmer
Khmer Korean
 Kurdish (Kurmanji)
 Kyrgyz
 Lao
Lao Latin
Latin Latvian
 Lithuanian
 Luxembourgish
 Macedonian
 Malagasy
 Malay
Malay Malayalam
 Maltese
 Maori
Maori Marathi
 Mongolian
 Myanmar (Burmese)
 Nepali
 Norwegian
 Pashto
 Persian
 Polish
 Portuguese
 Punjabi
 Romanian
 Russian
 Samoan
 Scottish Gaelic
 Serbian
 Sesotho
 Shona
Shona Sindhi
 Sinhala
 Slovak
 Slovenian
 Somali
 Spanish
 Sudanese
 Swahili
 Swedish
 Tajik
Tajik Tamil
Tamil Telugu
 Thai
Thai Turkish
 Ukrainian
 Urdu
Urdu Uzbek
Uzbek Vietnamese
 Welsh
Welsh Xhosa
Xhosa Yiddish
 Yoruba
 Zulu
Zulu
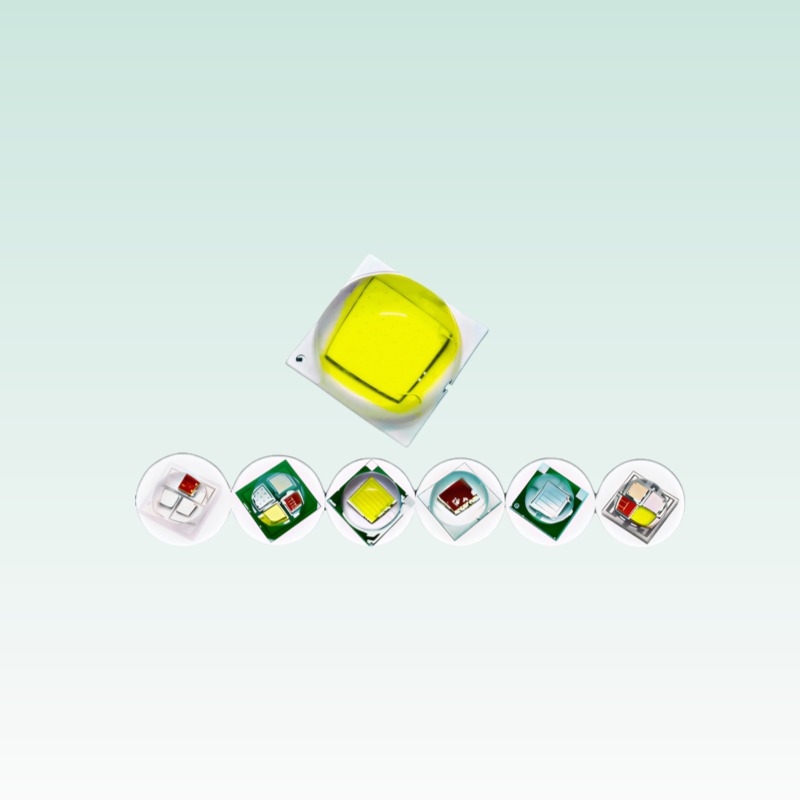

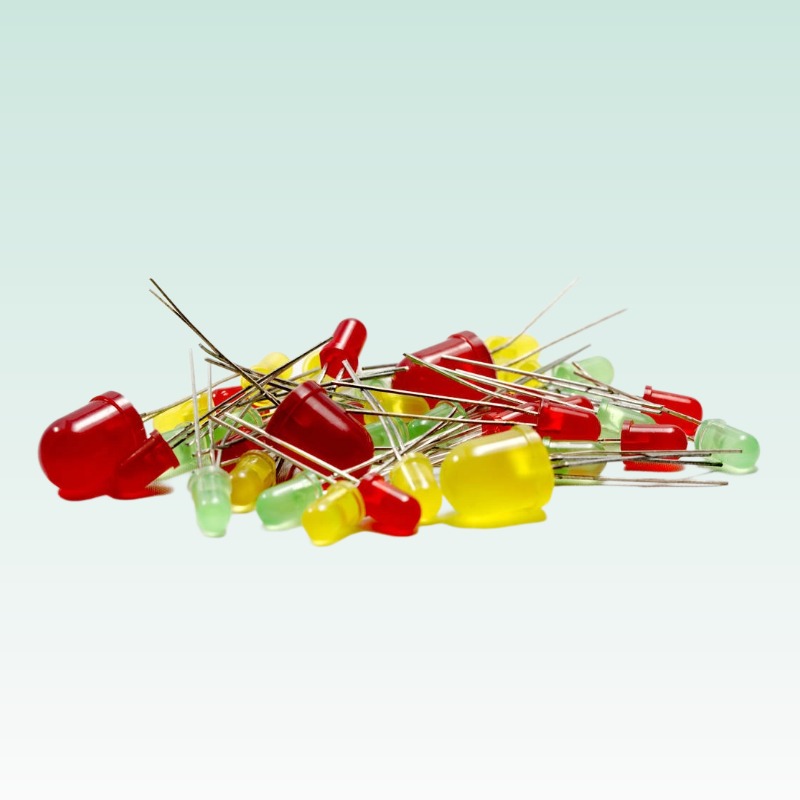
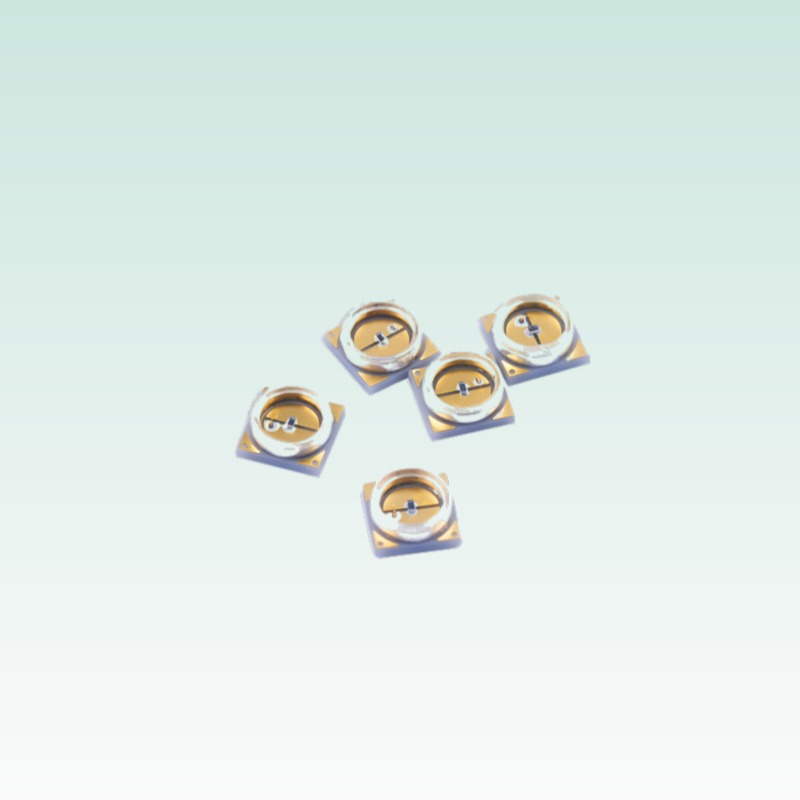
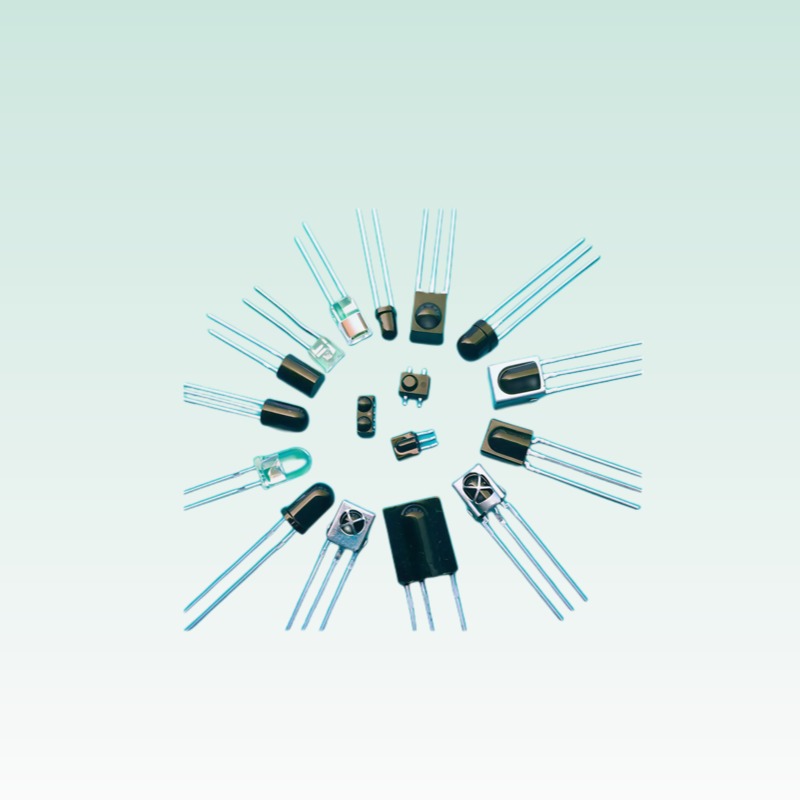









Every LED circuit design starts with two fundamental parameters: forward voltage (Vf) and forward current (If). Get these wrong, and your LED will either glow dimly, burn out immediately, or fail prematurely after hours of operation.
This guide explains how to calculate LED forward voltage and current, select the right resistor or driver, and design circuits that last 50,000+ hours.
1. What Is LED Forward Voltage (Vf)?
Forward voltage (Vf) is the minimum voltage required across an LED’s anode and cathode for the PN junction to conduct current and emit light.
Key characteristics:
| LED Color | Semiconductor Material | Typical Vf Range | Peak Wavelength |
|---|
| **Infrared** | GaAs (Gallium Arsenide) | 1.2–1.6V | 850–940 nm |
|---|---|---|---|
| **Red** | AlGaInP | 1.8–2.2V | 620–660 nm |
| **Amber/Orange** | AlGaInP | 2.0–2.3V | 590–620 nm |
| **Yellow** | GaP (Gallium Phosphide) | 2.1–2.4V | 570–590 nm |
| **Green** | InGaN | 2.8–3.6V | 520–570 nm |
| **Blue** | InGaN | 2.8–3.6V | 450–470 nm |
| **White** | InGaN + phosphor | 2.8–3.6V | Broad spectrum |
| **UV (365–405 nm)** | AlGaN | 3.2–4.0V | 365–405 nm |
Critical point: Vf is not a fixed value. It varies with:
2. What Is LED Forward Current (If)?
Forward current (If) is the current flowing through the LED when it operates. It directly determines brightness, heat generation, and lifespan.
| LED Type | Typical If Range | Maximum If (absolute max) | Brightness Control |
|---|
| **Small signal LED** (3mm, 5mm) | 10–20 mA | 30 mA | Resistor or low-current driver |
|---|---|---|---|
| **SMD indicator LED** (0603, 0805) | 5–20 mA | 25 mA | Resistor |
| **SMD lighting LED** (2835, 5630) | 60–150 mA | 200 mA | Constant current driver |
| **High-power LED** (1W, 3W, 5W) | 350 mA–1,500 mA | 1,000–3,000 mA | Constant current driver (essential) |
| **COB LED module** | 300 mA–3,000 mA | Varies by module | Constant current driver |
Brightness vs. current relationship: LED luminous output is roughly proportional to current, but efficiency drops at high currents (“droop effect”). A 3W LED driven at 700 mA may produce only 40% more light than at 350 mA, while consuming 100% more power.
3. The LED I-V Curve (Why Resistors Are Problematic)
LEDs are non-linear devices. Below Vf, current is nearly zero. Above Vf, current increases exponentially with small voltage increases.
Example I-V data for a typical white LED (Vf ≈ 3.2V at 350 mA):
| Voltage | Current | Relative Brightness |
|---|
| 2.5V | 0.1 mA | <1% (barely visible) |
|---|---|---|
| 3.0V | 50 mA | 15% |
| 3.2V | 350 mA | 100% (rated) |
| 3.4V | 1,000 mA | 220% (overdriven, hot) |
| 3.5V | 2,000+ mA | LED fails (thermal runaway) |
The problem with resistors: A small voltage change (0.2V) causes current to jump from 350 mA to 1,000 mA. With a resistor, supply voltage fluctuations or temperature changes can push the LED into thermal runaway.
Solution: Use constant current drivers for all LEDs operating above 100 mA.
4. Calculating Resistor Value (For Low-Current LEDs Only)
For small signal LEDs (20 mA and below), a simple resistor is acceptable.
Formula
`
R = (V_supply – Vf_LED) / If
`
Where:
Example 1: Single Red LED on 5V Supply
| Parameter | Value |
|---|
| LED | Red, Vf = 2.0V |
|---|---|
| Desired current | 20 mA (0.02 A) |
| Supply voltage | 5V |
`
R = (5V – 2.0V) / 0.02A = 3.0V / 0.02A = 150 Ω
`
Standard resistor value: 150 Ω (or 160 Ω for slightly lower current)
Power dissipation in resistor:
`
P = I² × R = (0.02)² × 150 = 0.06W
`
Use a 1/4W (0.25W) resistor for safety margin.
Example 2: White LED on 12V Supply
| Parameter | Value |
|---|
| LED | White, Vf = 3.3V |
|---|---|
| Desired current | 20 mA |
| Supply voltage | 12V |
`
R = (12V – 3.3V) / 0.02A = 8.7V / 0.02A = 435 Ω
`
Standard resistor value: 430 Ω
Efficiency concern: Resistor dissipates 8.7V × 0.02A = 0.174W as heat. That’s 72.5% of total power wasted! For battery-powered or energy-efficient designs, consider a switching LED driver.
Example 3: Multiple LEDs in Series
When connecting LEDs in series, their Vf values add:
| Parameter | Value |
|---|
| LEDs | 3 × White, Vf = 3.2V each |
|---|---|
| Total Vf | 9.6V |
| Desired current | 20 mA |
| Supply voltage | 12V |
`
R = (12V – 9.6V) / 0.02A = 2.4V / 0.02A = 120 Ω
`
Advantage: Higher efficiency (only 2.4V dropped across resistor vs. 8.7V in Example 2).
5. Why High-Power LEDs Need Constant Current Drivers
For LEDs above 100 mA, resistors are dangerous. Here’s why:
Thermal Runaway Mechanism
1. LED heats up during operation → Vf decreases (negative temperature coefficient)
2. With a fixed resistor, lower Vf means higher current: I = (V_supply - Vf) / R
3. Higher current → more heat → lower Vf → even higher current
4. Cycle continues until LED junction exceeds maximum temperature → permanent damage
Constant Current Driver Solution
A constant current driver actively adjusts output voltage to maintain fixed current, regardless of Vf variations.
| Driver Type | Efficiency | Cost | Best For |
|---|
| **Linear regulator** | 60–80% | Low | Low-power, cost-sensitive |
|---|---|---|---|
| **Buck (step-down) switching** | 85–95% | Medium | Most lighting applications |
| **Boost (step-up) switching** | 80–90% | Medium | Battery-powered, low-Vf sources |
| **Buck-boost switching** | 80–90% | High | Variable input voltage |
| **AC-DC LED driver** | 85–93% | Medium-High | Mains-powered fixtures |
Always use switching constant current drivers for:
6. Calculating LED Power Consumption
Single LED Power
`
P_LED = Vf × If
`
Example: White LED at 3.3V, 350 mA
`
P = 3.3V × 0.35A = 1.155W
`
Total Fixture Power
For a fixture with multiple LEDs:
`
P_total = (Vf × If × N_LEDs) / Driver_Efficiency
`
Example: 50 × white LEDs (3.3V, 150 mA each), buck driver at 90% efficiency
`
P_total = (3.3V × 0.15A × 50) / 0.90 = 24.75W / 0.90 = 27.5W
`
7. Designing for Temperature Variations
LED Vf decreases as temperature increases. At 85°C junction (typical operating temperature), Vf may be 0.2–0.4V lower than at 25°C.
Design margin: When calculating resistor values or driver voltage headroom, use the minimum Vf from the datasheet (measured at maximum operating temperature), not the typical value.
| Temperature | Vf Change | Impact on Resistor Circuit |
|---|
| 25°C (room) | Baseline | Current = target value |
|---|---|---|
| 60°C | -0.1V to -0.2V | Current increases 10–20% |
| 85°C | -0.2V to -0.4V | Current increases 20–40% |
8. Practical Design Checklist
Before finalizing your LED circuit, verify:
| Check | Action | Pass Criteria |
|---|
| **Vf verification** | Measure actual Vf at operating temperature | Within datasheet tolerance |
|---|---|---|
| **Current measurement** | Measure If with ammeter | Within ±10% of target |
| **Thermal design** | Verify heat sink adequacy | Junction temperature < maximum rating |
| **Driver headroom** | Ensure V_supply > N × Vf_max + 2V margin | Buck driver has sufficient overhead |
| **EMI compliance** | Test switching driver for conducted/radiated emissions | Meet target market regulations (FCC, CE) |
| **Flicker check** | Measure percent flicker at output | < 30% for general lighting, < 10% for high-end |
Conclusion
Calculating LED forward voltage and current is the foundation of every LED circuit design. For indicator LEDs below 20 mA, resistor-based designs are simple and cost-effective. For lighting-class LEDs, always use constant current switching drivers to prevent thermal runaway and ensure 50,000-hour lifespans.
Remember:
1. Vf varies with color, temperature, and current
2. Current determines brightness and lifespan — never exceed absolute maximum rating
3. Use minimum Vf (hot condition) for worst-case design
4. High-power LEDs (>100 mA) require constant current drivers
5. Thermal management is as critical as electrical design
At Queendom LED, we provide detailed datasheets for every LED chip, including Vf vs. If curves, temperature coefficients, and recommended operating conditions. Our technical team can review your circuit design and recommend optimal driver configurations.
Download LED chip datasheets | Contact our engineering team
