
 English
 Afrikaans
 Albanian
 Amharic
 Arabic
 Armenian
 Azerbaijani
 Basque
 Belarusian
 Bengali
 Bosnian
 Bulgarian
 Catalan
 Cebuano
 Chichewa
 Corsican
 Croatian
 Czech
Czech Danish
 Dutch
Dutch Esperanto
 Estonian
 Filipino
 Finnish
 French
 Frisian
 Galician
 Georgian
 German
 Greek
Greek Gujarati
 Haitian Creole
 Hausa
Hausa Hawaiian
 Hebrew
 Hindi
Hindi Hmong
Hmong Hungarian
 Icelandic
 Igbo
Igbo Indonesian
 Irish
Irish Italian
 Japanese
 Javanese
 Kannada
 Kazakh
 Khmer
Khmer Korean
 Kurdish (Kurmanji)
 Kyrgyz
 Lao
Lao Latin
Latin Latvian
 Lithuanian
 Luxembourgish
 Macedonian
 Malagasy
 Malay
Malay Malayalam
 Maltese
 Maori
Maori Marathi
 Mongolian
 Myanmar (Burmese)
 Nepali
 Norwegian
 Pashto
 Persian
 Polish
 Portuguese
 Punjabi
 Romanian
 Russian
 Samoan
 Scottish Gaelic
 Serbian
 Sesotho
 Shona
Shona Sindhi
 Sinhala
 Slovak
 Slovenian
 Somali
 Spanish
 Sudanese
 Swahili
 Swedish
 Tajik
Tajik Tamil
Tamil Telugu
 Thai
Thai Turkish
 Ukrainian
 Urdu
Urdu Uzbek
Uzbek Vietnamese
 Welsh
Welsh Xhosa
Xhosa Yiddish
 Yoruba
 Zulu
Zulu









Industrial LED Reliability
A Component Engineering White Paper — failure physics, qualification testing, and design practices for long-life LED systems
Queendom LEDs · Component Engineering Group
1. Why Component Reliability Is a System-Level Decision
Buyers rarely experience an LED failure as an LED failure. They experience it as a dead pixel in a display, an unreadable indicator on a machine panel, a security camera that cannot see at night, or a curing module that stops initiating adhesive. By the time the symptom reaches the customer, the root cause sits somewhere along a chain: die, phosphor and encapsulant, package, solder joint, board, driver. Reliability engineering is the discipline of making every link in that chain survive the intended environment for the intended life — and it is decided earliest, and cheapest, at the component specification stage.
This white paper takes the component engineer’s view of industrial LED reliability. It explains how LED components actually degrade and fail, which environmental stresses accelerate each mechanism, how qualification testing maps stress to mechanism, how to read supplier reliability data with the right skepticism, and which design practices most reliably extend field life. It complements two companion application notes in our resource center: the thermal management guide, which treats heat dissipation design in depth, and the LM-80 interpretation guide, which covers lumen-maintenance data in detail.
2. How LED Components Fail: The Physics of Degradation
LEDs are unusual among electronic components in that they rarely fail abruptly. Most failures are gradual optical degradation — slow decay of light output — driven by physical mechanisms that begin operating the moment the part is powered. Understanding the mechanisms tells you which stress you must control to slow each one.
2.1 Chip-Level Degradation
Within the gallium-nitride die, extended defects in the crystal lattice multiply under combined electrical and thermal stress. These dislocation networks act as non-radiative recombination centers: electrons that should become photons instead become heat. The visible result is localized dimming that spreads across the emitting area, sometimes along characteristic dark lines visible under magnification. Elevated junction temperature is the strongest accelerator, followed by current density: driving a die harder than its design point trades a few extra lumens today for a faster decay curve over the part’s life.
2.2 Phosphor and Encapsulant Aging
In white LEDs, the blue die pumps a phosphor layer suspended in silicone. Both phosphor and silicone age. Sustained high package temperatures slowly yellow the silicone, absorbing blue light and shifting the chromaticity coordinate; phosphor particles can also settle or coarsen through thermal cycling, changing conversion efficiency. In harsh environments, short-wavelength and especially UV exposure accelerates these paths — one reason UV-adjacent industrial applications demand encapsulants specified for photodegradation.
2.3 Package-Level Failure Modes
The package contributes its own failure modes, and these are the ones most likely to cause abrupt loss:
| Mode | Mechanism | Accelerated By |
|---|---|---|
| Delamination | Layer interfaces (die/substrate, encapsulant/frame) separate; hot spots form | Thermal cycling, moisture ingress |
| Wire-bond breakage | Bond wire fatigue or intermetallic growth at the ball bond | Thermal cycling, mechanical shock, vibration |
| Solder joint fatigue | CTE mismatch between package, board, and copper cycles joints to failure | Power cycling, ambient temperature swings |
| Moisture-driven corrosion | Electrochemical migration and pad corrosion inside the package | Humidity with bias, chloride contamination |
| Encapsulant carbonization | Localized overheating chars silicone, producing dark zones | Overcurrent, poor thermal paths, surge events |
| Sulfur contamination | Sulfur-bearing atmospheres attack silver-plated reflectors | Industrial air, vulcanized rubber seals nearby |
2.4 Catastrophic Electrical Events
Abrupt failures cluster around electrical transients. Electrostatic discharge during handling can wound a die without killing it, leaving a latent defect that surfaces weeks later in the field. Surge and reverse-bias events stress the junction and bond structures. And sustained overcurrent — from a mis-set driver or a failed current-limit stage — overheats the smallest thermal path in the system, typically charring the encapsulant directly above the die. A reliability program therefore treats electrical overstress prevention as a design task, not a luck variable.
3. The Stressors That Accelerate Failure
Every mechanism above has a stress signature, and industrial environments supply all the signatures at once. The table below summarizes the mapping an engineer should keep in mind when matching components to application.
| Stressor | Typical Industrial Sources | Dominant Failure Paths |
|---|---|---|
| Junction temperature | Enclosed fixtures, high ambient, undersized heat paths | Chip defect growth, silicone yellowing, bond degradation |
| Current density | Overdriven bins, cheap resistor-limited designs | Chip decay, electromigration, encapsulant stress |
| Thermal cycling | Power on/off duty, seasonal swings, outdoor service | Solder fatigue, delamination, wire-bond fatigue |
| Humidity with bias | Washdown areas, marine and outdoor enclosures | Corrosion, electrochemical migration, delamination |
| Contamination | Sulfur processes, chlorine washdown, flux residues | Reflector attack, pad corrosion |
| ESD / transients | Handling, ungrounded assembly, inductive loads sharing supply | Latent die defects, junction damage |
| Vibration / shock | Transport, machinery-attached equipment, vehicle service | Bond wire fatigue, solder cracking |
4. Qualification Testing: Mapping Stress to Mechanism
Qualification programs exist to find, before shipment, the failures each stress would otherwise find in the field. A component-level program for industrial LEDs is built from the standard building blocks below; the referenced documents are industry standards familiar to any component engineer.
| Test | Condition (typical) | Standard Reference | What It Catches |
|---|---|---|---|
| High-temperature operating life (HTOL) | Max rated temp and current, 1000 h | JESD22-A108 | Chip and bond degradation under bias and heat |
| Temperature cycling (TC) | −40 to +125 °C, hundreds of cycles | JESD22-A104 | Solder fatigue, delamination, wire-bond failure |
| Highly accelerated stress test (HAST) | 85 °C / 85% RH under bias | JESD22-A110 | Moisture-driven corrosion and migration |
| Moisture sensitivity level (MSL) | Reflow simulation after moisture soak | J-STD-020 / J-STD-033 | Popcorning and reflow-induced delamination |
| ESD (HBM / CDM) | Classified per device sensitivity | ANSI/ESDA/JEDEC JS-001 | Handling-induced die damage |
| Lumen maintenance | LM-80 conditions at multiple case temperatures | IES LM-80 / TM-21 | Long-term optical decay behavior |
Two reading rules make qualification reports more useful than they first appear. First, always check the test condition against your application condition: a part qualified at 85 °C case temperature does not automatically survive 105 °C service, and a TM-21 projection is only valid inside the tested time and temperature envelope. Second, sample size and acceptance criteria matter as much as the test name; a 22-piece LM-80 run supports a six-times-test-time projection per TM-21, not an open-ended lifetime claim. Our LM-80 application note walks through this arithmetic with worked examples.
5. Reading Supplier Reliability Data with the Right Skepticism
Reliability data arrives as documents, and documents can be shaped. The questions below separate a substantive dossier from a marketing one. Ask them of any LED component supplier, including us.
Is the LM-80 report current, and at which case temperatures? Reports more than a few years old may reflect superseded die generations. A report at a single case temperature cannot support projections at materially different temperatures without the Arrhenius interpolation TM-21 describes.
Are failure criteria stated numerically? A serious report defines what counts as a failure — lumen maintenance below a stated L threshold, chromaticity shift beyond a stated radius, electrical drift beyond stated limits — rather than reporting that parts “passed”.
What is the sample size and how many populations? A single small lot tested once says little about production consistency. Better indicators are repeated lot acceptance across time and in-house monitoring data shared on request.
Are FIT or MTBF numbers accompanied by assumptions? Field-failure predictions are only meaningful with stated ambient temperature, activation energy, confidence level, and the test-to-field extrapolation model. Numbers without assumptions are decoration.
Is the qualification suite matched to your environment? A part destined for washdown service should show HAST or 85/85 evidence; a part destined for vehicle-mounted equipment should show vibration and shock data; an outdoor sign should show cycling data spanning the climate envelope.
6. Design Practices That Extend Field Life
6.1 Derate Current and Temperature
The cheapest reliability you will ever buy is derating. Operating at 80–90 percent of rated current, and holding junction temperature well below the datasheet ceiling, moves the part down the steep part of every degradation curve. The cost is a few percent of initial light output, recovered with interest in slower decay and longer maintenance intervals. Where energy codes or optical budgets permit, specify the next-larger package running easier rather than a small package at its limit.
6.2 Drive Topology
Constant-current drivers hold junction conditions stable as LED forward voltage drifts with temperature and aging. Resistor-limited designs, common in cost-driven indicator circuits, let current rise exactly when the LED is cold and most vulnerable, and offer no protection against supply transients. For industrial service, constant-current regulation with surge suppression at the input is the baseline; for outdoor and vehicle-adjacent installations, dedicated surge protection components are not optional.
6.3 Thermal Path Continuity
The junction only stays cool if every element between die and ambient — die attach, substrate, thermal interface material, board copper, heatsink or chassis — is sized and verified. Interface materials dry out and pump out over cycling; a design that survives the first month can still fail the tenth. Our thermal management application note provides the resistance-network method for budgeting each element and the measurement techniques for verifying it.
6.4 Board and Assembly Discipline
Solder joints are part of the reliability chain. Match land patterns to the datasheet, respect the MSL floor-life rules after the moisture-barrier bag is opened, and bake when the exposure clock runs out. For harsh environments, conformal coating of the assembled board — with the LED lens kept clear of coating, per the manufacturer’s guidance — blocks the humidity-and-contamination paths described in Section 2.
6.5 ESD Controls Through the Chain
Latent ESD damage is invisible at test and expensive in the field. Grounded benches, wrist straps, ESD-safe storage, and antistatic packaging must extend through every hand that touches the part, including contract assembly. A single ungrounded step can undo the entire upstream discipline.
7. When Failures Occur: The Failure Analysis Route
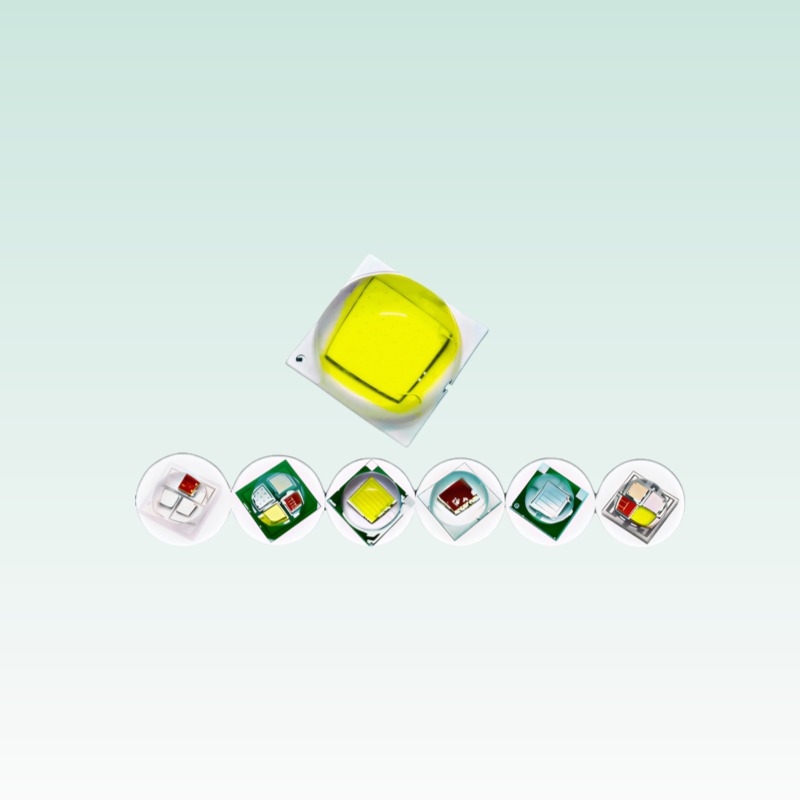
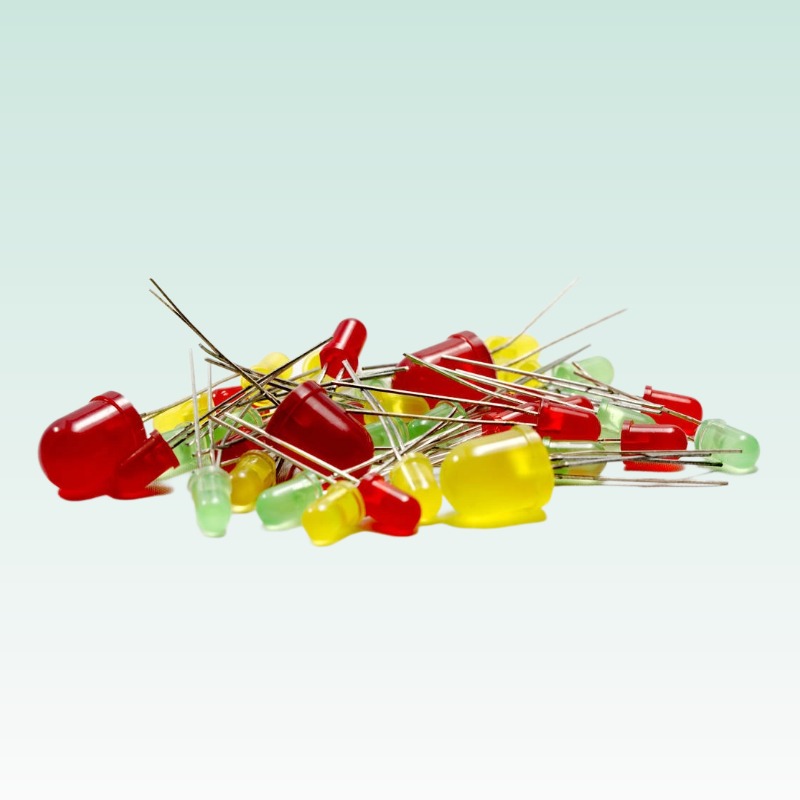
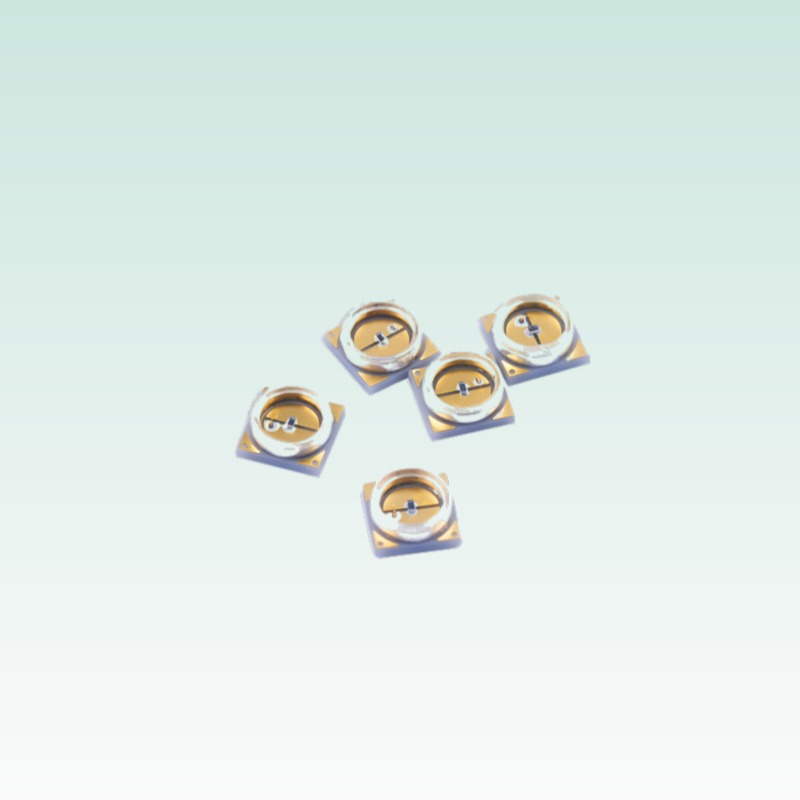
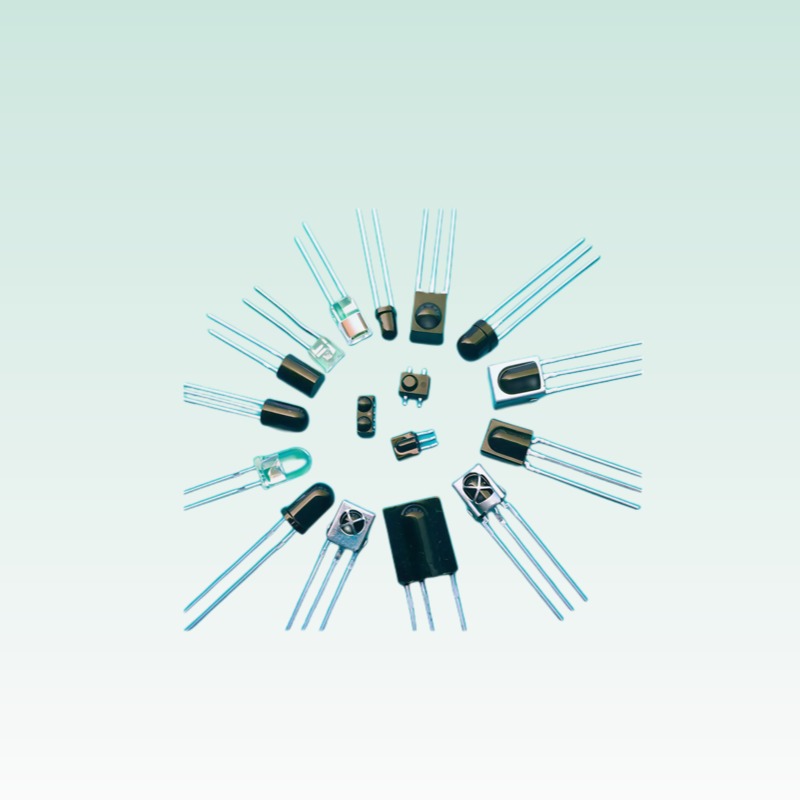
Even disciplined programs see occasional field returns, and each one is free information. A structured failure analysis begins with non-destructive steps — external and optical microscopy, electrical curve tracing, X-ray — before any destructive cross-sectioning, preserving the evidence while narrowing the cause. The findings feed back into derating rules, supplier discussions, and screening practices. Our resource center maintains a failure-analysis knowledge base covering SMD, DIP, infrared, and display-device failure modes with photographs and prevention measures, and we accept component returns for analysis from volume customers under an NDA.
8. A Reliability Checklist for Component Selection
| Selection Step | Key Question |
|---|---|
| 1. Environment profile | What are the real worst-case junction temperature, humidity, cycling depth, and contamination exposures? |
| 2. Margin check | Does the datasheet ceiling leave at least 15–20 °C margin above my computed worst-case junction temperature? |
| 3. Qualification match | Does the supplier’s test suite include the blocks my environment demands (Table in Section 4)? |
| 4. Data quality | Do the LM-80 and HTOL reports state conditions, sample sizes, and numeric failure criteria? |
| 5. Drive design | Am I using constant-current drive with surge suppression, and derating current appropriately? |
| 6. Assembly controls | Are MSL handling, land patterns, and ESD controls specified and auditable at the assembler? |
| 7. Feedback loop | Do I have a path to return failed parts for analysis and update derating rules? |
Teams that work this checklist at design-in time convert reliability from a warranty negotiation into an engineering budget — with numbers attached to every assumption, and margin allocated deliberately where the application demands it.
• LM-80 Reliability & Lifetime Application Note — reading lumen-maintenance data correctly
• Thermal Management Design Guide — junction temperature budgeting and measurement
• LED Failure Analysis Knowledge Base — documented component failure modes
• Test Reports — LM-80 and test data for our component series
• Datasheet Center — full component specifications
Get notified when new LED component white papers are published