







A datasheet viewing angle tells you how wide the beam is. A radiation pattern diagram tells you where the light goes inside that beam. The two are not the same, and for array design the second one decides whether a surface ends up even or striped. The diagram is a polar plot of intensity against angle, and its shape is set by the die, the reflector cup and any secondary lens.
What the Plot Actually Shows
The radius of the curve is relative intensity, normalised so the peak equals 1.0. The angle runs from 0 degrees on the mechanical axis out to 90 degrees or beyond. Most LED patterns are symmetric about the axis and only the right half is printed, but asymmetric parts show the full sweep because the two halves differ. Read three things off the plot: the peak angle, the full width at half maximum, and the shape of the tail.
Lambertian: The Cosine Law
An unpackaged die with no optics emits close to a Lambertian distribution, where intensity falls as the cosine of the angle from the axis. Half intensity lands at 60 degrees, giving a full width at half maximum of 120 degrees. The pattern is broad and smooth, and it is the reference shape in most datasheets. The practical weakness is the centre: a Lambertian emitter puts most of its flux straight down, which produces a bright spot directly under a linear fixture and dim ends unless the spacing is tight.
The Batwing and Why It Exists
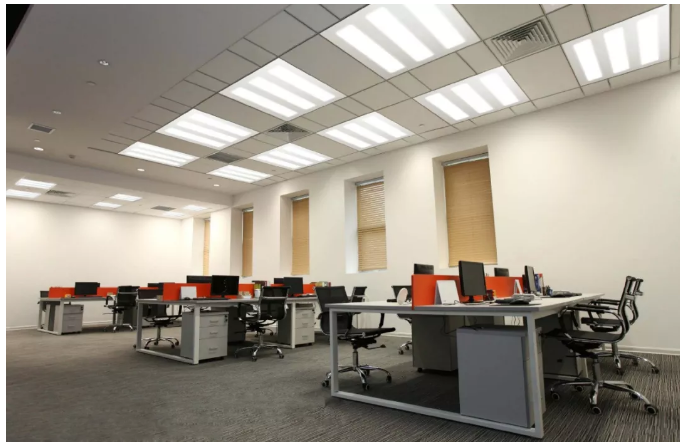
A batwing lens reshapes the cosine into a double lobe with the peak pushed off axis, usually somewhere between 25 and 45 degrees, and a dip on the axis itself. The dip is the point. Two off-axis peaks overlap between adjacent emitters, so a row of batwing parts sums to a flatter profile than a row of Lambertian ones at the same pitch. Batwing optics are common in linear fixtures, backlights and shelf lighting, where evenness matters more than centre beam candela.
| Profile | Peak angle | Typical FWHM | Where it is used |
|---|---|---|---|
| Lambertian | 0 degrees | About 120 degrees | General illumination, indicators, arrays with tight pitch |
| Batwing | 25 to 45 degrees | 100 to 140 degrees total | Linear fixtures, backlights, shelf and cove lighting |
| Side emitting | 80 to 90 degrees | 100 to 120 degrees | Edge lit panels, thin light guides |
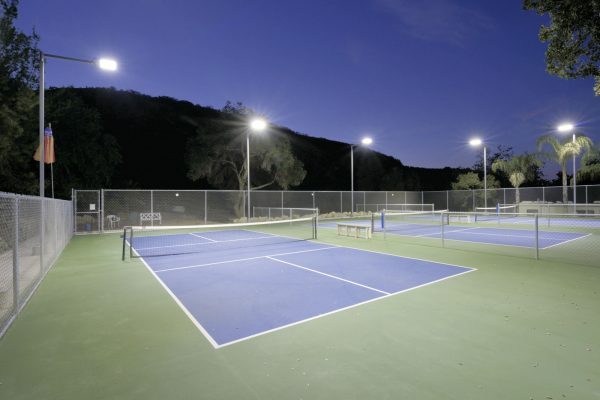
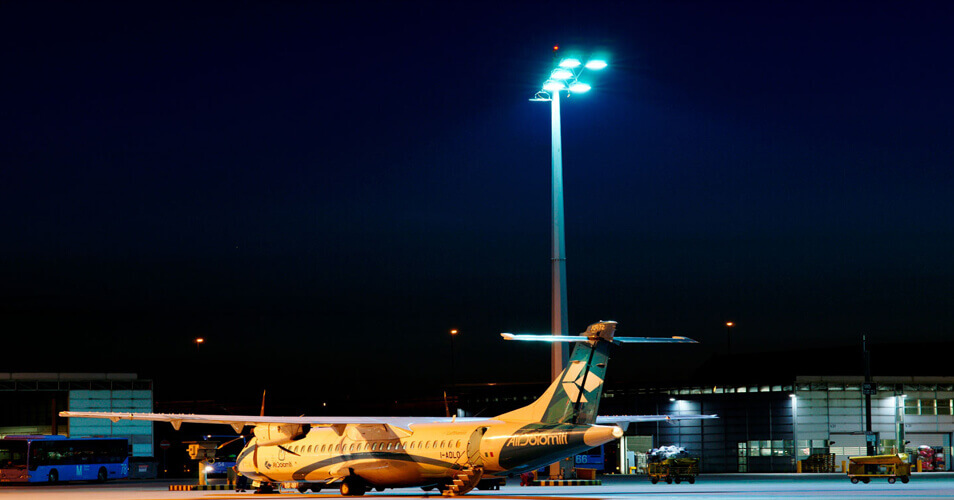
| Asymmetric | 30 to 60 degrees one side | Wide on the throw side | Wall wash, street and area lighting |
Side Emitting and Asymmetric Profiles
A side emitting part radiates sideways rather than forward, with the peak near 90 degrees. It exists so that a thin panel or light guide can be fed from its edge, and the forward intensity is deliberately low. Asymmetric optics tilt the whole pattern to one side, which is how a wall wash keeps light on the wall instead of the ceiling, and how an area light pushes flux out along the road instead of behind the pole. For asymmetric parts, the plot is the only place the tilt angle is stated as a number.
Reading the Tail, Not Just the Peak
The last 20 degrees on each side decide glare and spill. A pattern with a clean cut at 70 degrees keeps light inside the intended area. A slow tail that still carries a few percent at 85 degrees throws light sideways into windows and neighbouring property, and it is the part of the diagram most often skipped. Comparing two parts with identical FWHM but different tails answers a question the viewing angle number cannot.
Key Takeaways
- The radiation pattern plots intensity against angle; the viewing angle figure alone does not describe it.
- Lambertian emission follows the cosine law with a 120 degree FWHM and a strong on-axis peak.
- Batwing lenses push the peak off axis so overlapping arrays sum to a flatter surface.
- Side emitting parts feed light guides; asymmetric parts tilt the beam for wall wash and area lighting.
- Check the tail beyond 70 degrees before choosing, because that is where spill and glare live.
Related reading
