
 English
 Afrikaans
 Albanian
 Amharic
 Arabic
 Armenian
 Azerbaijani
 Basque
 Belarusian
 Bengali
 Bosnian
 Bulgarian
 Catalan
 Cebuano
 Chichewa
 Corsican
 Croatian
 Czech
Czech Danish
 Dutch
Dutch Esperanto
 Estonian
 Filipino
 Finnish
 French
 Frisian
 Galician
 Georgian
 German
 Greek
Greek Gujarati
 Haitian Creole
 Hausa
Hausa Hawaiian
 Hebrew
 Hindi
Hindi Hmong
Hmong Hungarian
 Icelandic
 Igbo
Igbo Indonesian
 Irish
Irish Italian
 Japanese
 Javanese
 Kannada
 Kazakh
 Khmer
Khmer Korean
 Kurdish (Kurmanji)
 Kyrgyz
 Lao
Lao Latin
Latin Latvian
 Lithuanian
 Luxembourgish
 Macedonian
 Malagasy
 Malay
Malay Malayalam
 Maltese
 Maori
Maori Marathi
 Mongolian
 Myanmar (Burmese)
 Nepali
 Norwegian
 Pashto
 Persian
 Polish
 Portuguese
 Punjabi
 Romanian
 Russian
 Samoan
 Scottish Gaelic
 Serbian
 Sesotho
 Shona
Shona Sindhi
 Sinhala
 Slovak
 Slovenian
 Somali
 Spanish
 Sudanese
 Swahili
 Swedish
 Tajik
Tajik Tamil
Tamil Telugu
 Thai
Thai Turkish
 Ukrainian
 Urdu
Urdu Uzbek
Uzbek Vietnamese
 Welsh
Welsh Xhosa
Xhosa Yiddish
 Yoruba
 Zulu
Zulu





Installation Guides
Proper installation ensures optimal performance, safety, and longevity of LED lighting fixtures. These guides cover mounting methods, wiring configurations, dimming setup, and maintenance for Queendom lighting products.
Installation Topics
- High Bay Light Installation — Mounting height, beam angle selection, daisy-chain wiring
- Panel Light Installation — Recessed, surface, and suspended mounting methods
- Solar Street Light Installation — Pole foundation, panel orientation, battery placement
- Wiring & Dimming — 0-10V, DALI, TRIAC dimming setup and troubleshooting
- Maintenance & Cleaning — Routine inspection, cleaning, and component replacement
Installation Guides by Product Line
LED Tube Installation (T5 / T8 / T10 / T12)
Before replacing fluorescent tubes with LED tubes, confirm whether your fixture uses an inductive ballast (magnetic) or an electronic ballast. Most modern LED tubes support single-ended or double-ended power feeds. For single-ended feed tubes, wire the live and neutral conductors to the same end of the socket; for double-ended feed types, split them to opposite ends. Always remove or bypass the old ballast and starter, and have a qualified electrician verify the rewiring before energizing the circuit. Our LED tube product pages list the wiring type for each model.
LED Panel Light Installation
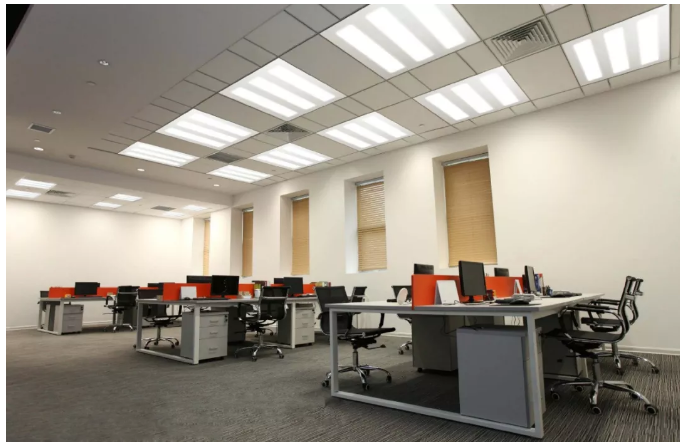
Panel lights support three mounting methods: recessed (drop into a standard 600×600 mm or 300×1200 mm T-bar grid ceiling), surface-mounted (using a mounting frame kit), and suspended (using steel wire rope kits from a concrete ceiling). For cleanroom and GMP areas, use IP65-rated panels with silicone gaskets to maintain room pressure and hygiene ratings.
High Bay & Plant Grow Light Installation
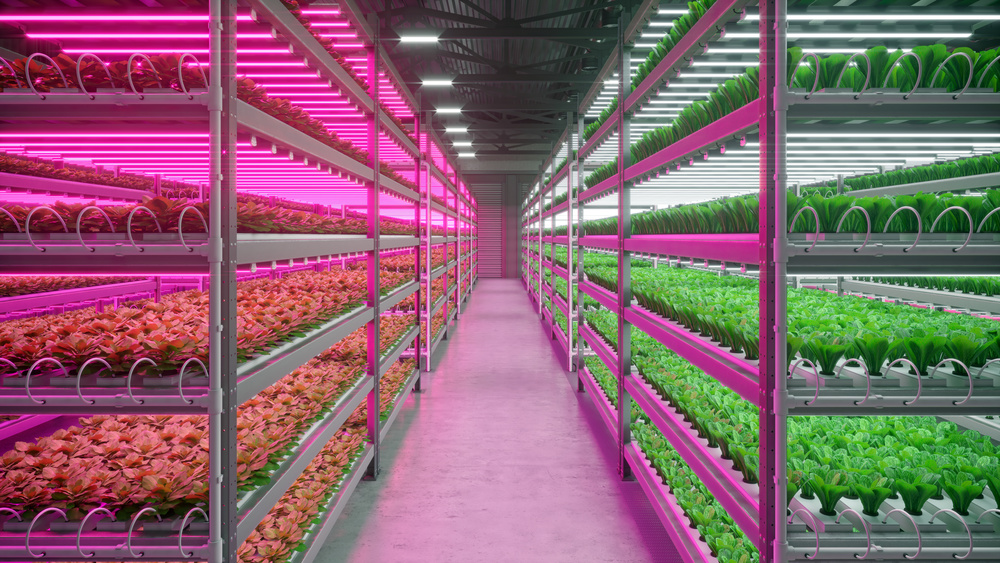
Choose mounting height by wattage and beam angle: as a rule of thumb, 100–150 W UFO high bays suit 8–12 m mounting heights at roughly one fixture per 25–40 m², while 200 W+ models serve 12–15 m. For plant grow lights, follow the PPFD (µmol/m²/s) targets stated in each datasheet and adjust hanging height to keep the canopy within the recommended irradiance range.
Solar & Outdoor Fixture Installation
Solar street and flood lights should be installed with the PV panel facing the equator (south-facing in the northern hemisphere) at a tilt close to the site latitude. Check that no shading from trees or buildings blocks the panel between 9:00 and 15:00. All outdoor connections must use IP65 or IP66 rated junction boxes, and poles require a concrete foundation sized for local wind loads.
Safety Checklist
- Disconnect power at the breaker before any installation or maintenance work
- Verify input voltage matches the fixture rating (100–277 VAC or 347–480 VAC models)
- Use only the wiring method specified in the product manual — incorrect bypass wiring is the leading cause of tube failures
- Maintain the minimum clearance-to-combustibles distance stated for high-temperature fixtures
- For dimming systems, confirm compatibility between 0-10V / DALI / TRIAC drivers and your control equipment before wiring
- Keep installation records and serial numbers for warranty claims