


How to wire and light up LED panel lights
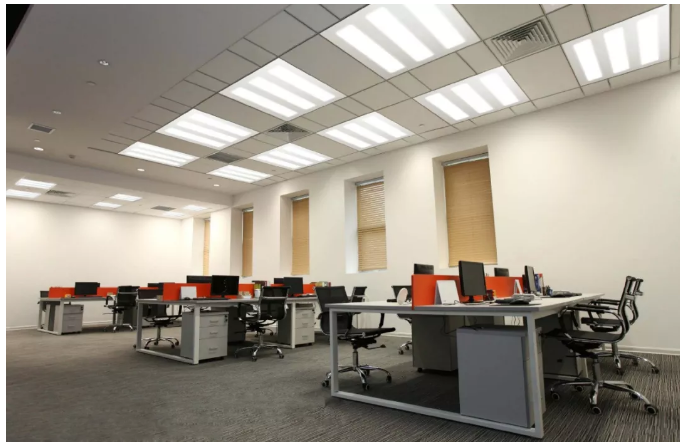
LED panel lights are a modern home lighting device that is popular for their high efficiency, bright and uniform lighting, and energy-saving characteristics. Correct wiring is the key to ensuring the normal operation of LED panel lights. This article will introduce the wiring method of LED panel lights to help you complete the installation process.
Before starting the wiring, you need to prepare the following tools and materials in advance:
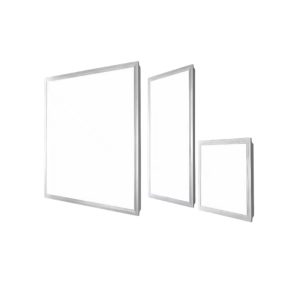
LED panel lights, mounting brackets or hangers, power cords, screwdrivers, insulated wire cutters, insulated wire stripping tools, wire connectors, insulated tape, power switches (optional)
Step 1: Cut off the power supply
Before starting wiring the LED panel lights, make sure to cut off the power supply. This is very important to avoid the danger of electric shock. Turn off the main power switch and use a voltage tester to confirm that the power has been cut off.
Step 2: Install the bracket or hanger
Firstly, install brackets or hangers based on the type and installation location of your LED panel light. Usually, LED panel lights can be installed on ceilings or walls. Ensure that the bracket or hanger is securely fixed to withstand the weight of the LED panel light.
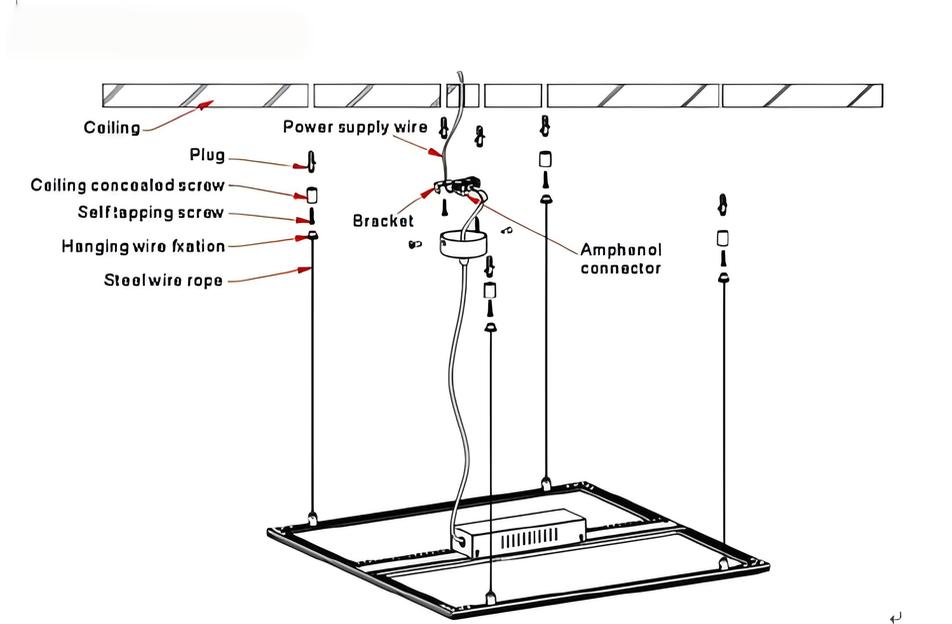
Step 3: Prepare the power cord
Remove the power cord of the LED panel light, usually a cable, with one end connected to the LED panel light and the other end used to connect to the power supply. Ensure that the power cord is long enough for wiring.
Step 4: Connect the power cord
Use an insulated wire cutter and stripping tool to peel off the insulation of the power cord to expose the internal wires. Typically, power cords include black, white, and green/yellow wires. These colors may vary by region, so please confirm the purpose of each wire according to the instructions of the LED panel lights.
When connecting the power cord, it is usually necessary to connect the black or red wire to the positive pole on the LED panel light, the white or blue wire to the negative pole, and the green/yellow wire to the ground. You can use wire connectors to connect wires and ensure that the connections are secure and secure. If you are using a power switch, you can also connect it to the circuit in this step.
Step 5: Check the connection
After completing the connection, please carefully check all wiring points. Ensure that all connections are secure, there are no exposed wires, and the insulation is good. Use insulating tape to wrap any exposed wires and ensure that the power cord is not pulled or subjected to unnecessary pressure.
Step 6: Install the LED panel lights
Now, you can install the LED panel lights themselves. Align the bracket or hanger of the LED panel light with the installation position, and use a screwdriver to fix the LED panel light to the bracket or hanger. Ensure that the installation is secure and the LED panel lights are not shaking or loose.
Step 7: Connect the power supply
Finally, connect the other end of the power cord to the power source. Turn on the main power switch and check if the LED panel lights are working properly. If everything is normal, the LED panel lights will emit bright light to illuminate your space.
The wiring of LED panel lights is relatively simple, but caution is required. Make sure to cut off the power, connect the wires correctly, check all connection points, and ensure that the LED panel lights are securely installed. If you are unsure how to perform the wiring, it is recommended to seek the help of a professional electrician to ensure safe and correct installation. LED panel lights provide bright, uniform, and energy-saving lighting, making them an ideal choice for modern homes. Through proper wiring and installation, you can enjoy high-quality lighting effects and add a bright atmosphere to your space.
Explore More from Queendom Lamp
Stay updated with the latest LED technology, lighting solutions, and industry insights.
Request a Quote About Queendom